Don’t wait on graphics or photos while your WordPress website is being built. Create your layout using placeholder images and edit these exact same files once you have the final artwork.
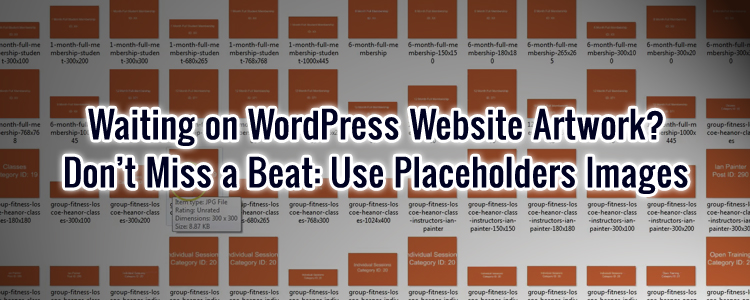
How often do you begin building a site only to discover the images you need are not ready?
Perhaps you’re eager to add photos, graphs and charts not only because they are vital content but because you need to test your layout as you build the wireframe. Placeholder website images are created as temporary measures so that the rest of the site can be constructed. 🏗️
It’s like building the window frames of a new house until the glass panes become available. It’s important to get the placeholder images so you can make all the necessary HTML and CSS tweaks needed as part of the layout. 🪟
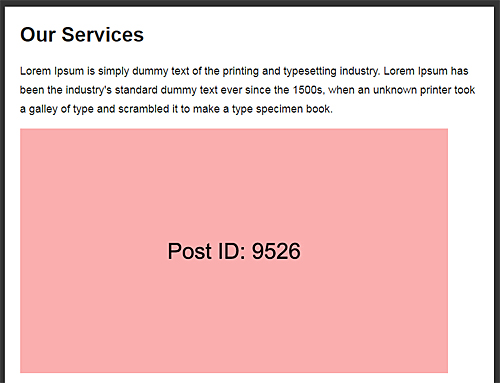
When I create the placeholder, I like to add the WordPress Post ID to the image (I’ll tell you more about that shortly) as it helps me organise the task of assigning the right images to the right pages. 🤓
It might seem unnecessary to do all this, but trust me when I tell you it allows you get on with properly building out the structure of the website with an idea of how HTML image containers are behaving in context. 🧐
You can use a blank or coloured image to act as a stand-in while you wait for what you actually need. When you add an image to WordPress, it is automatically added to the folder /wp-content/uploads/. 🗂️
The placeholder would be later directly edited with Photoshop by pasting the final artwork on top of the placeholder image, flattening it, and resaving it. The image filename stays the same, but the contents of the image change, and then the final images will show up wherever you added the initial placeholders.
It’s a simple matter of swapping one image for another. 🛣️🛤️
Tweak HTML for Each Image
Once an image is inserted via the WordPress editor, the necessary HTML code for that image will be generated.
You or your web designer/developer will want to get on with working on this code, with all the typical adjusting of CSS .img classes and tweaking of margins and padding. 📐📏🔧
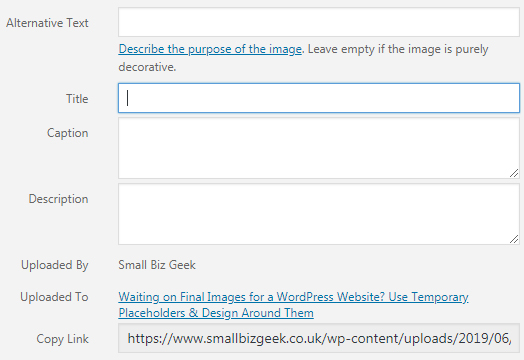
Add Image ALT, Descriptions, Captions
At this point, you can add alt text, HTML tags, descriptions, captions and any internal/external links (if want your image to be clickable).
Using Photoshop Groups/Layers to Create Placeholders
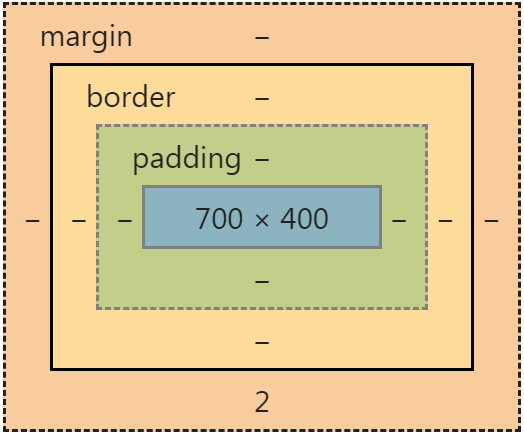
Let’s imagine you’re going to add featured images of 700 x 400 pixels at the top of pages and posts – a featured image for every webpage.
Here’s what you would do:
- Using Photoshop, you’d create a canvas at this 700 x 400 with a solid colour background
- Organise images into correctly-named layers and groups (home, about, services, contact etc) with a view to pasting in the real images once they’re received
- Create a draft WordPress post/page and get the 4 digit post ID from the URL
- Add the 4 digit post ID to each of your image placeholders and upload to the WordPress media library
So if I was creating an image for the Services webpage, I’d get the post ID and add that to the correct image in Photoshop.
![]()
The ID in this example is 9526.
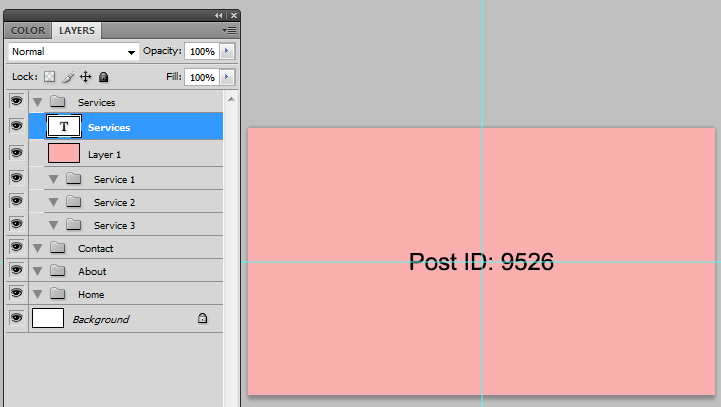
You want the post ID to be positioned in the middle of your image, and not in too large a font size. Here’s why…
Working with the WordPress Media Uploader
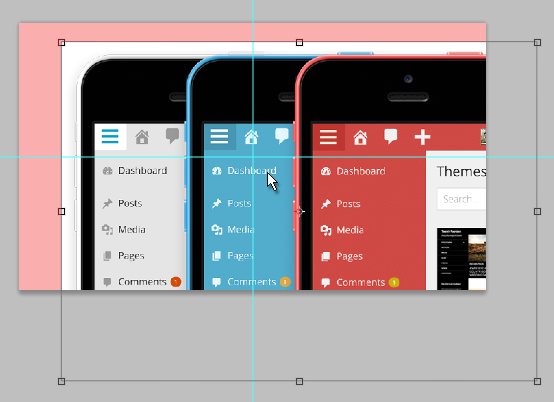
The WordPress media uploader will automatically produce several smaller images based off of one single uploaded image.
Some of these auto-generated images will be cropped into rectangular and square aspect ratios, which is why you want your Photoshopped text labels in the middle centre of the image.
Those extra WordPress thumbnails must be edited and properly composed because featured images for blog posts generate a 150 x 150 thumb used for blog post archive previews.
See the example thumbnails below.
Some of the other auto-generated thumbnails are used by social networks when you post links to Facebook, LinkedIn, etc.
They will pull in the best-sized image for their news feed, and it needs to look good. 🖥️💻📱
Find Location of Dummy Images and Edit Them
So, you’ve created your website layout using temporary placeholder dummy images.
The real artwork has been supplied to you and you’re ready to edit the dummies.
Right-click any image on your site, select “Open image in new tab” and take note of the image URL in the browser address bar.
![]()
By default, WordPress puts any images uploaded via the media uploader to this path…
www.example.com/wp-content/uploads/XXXX/XX/example.jpg 🗂️
…where XXXX represents the year and XX the month.
Access your remote web server (I use FileZilla) and locate the uploaded images, not forgetting accompanying thumbnails that were generated by WordPress.
Copy these to your computer, edit each of them with whatever graphics program, and put them back in the same uploads folder they came from.
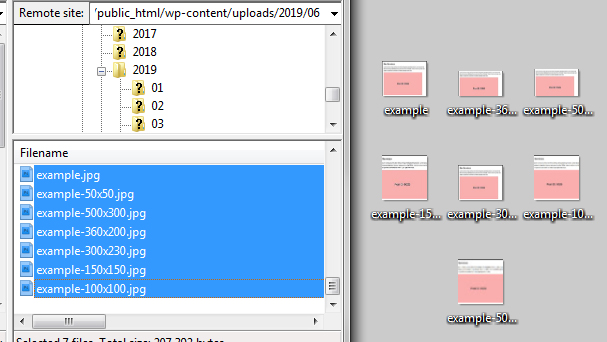
Remember that all the thumbnails associated with your original image must be edited. WordPress automatically grabs the different sizes and uses them for different parts of your theme.
Summary: No Time to Waste When Working with WordPress
The video below outlines the principle of these placeholders using WAMP as a localhost. This scenario assumes you’re building a new website for the first time.
(Of course, you don’t have to use a localhost, nor does it have to be a new site.)
Placeholders are an effective, methodical, time-saving approach to adding image content to draft WordPress pages.
Honestly: I hate to sit around waiting on others to send content. Assuming we already have the wireframe and know exactly what any given page is supposed to look like, I’ll always use this workflow so I can get the rest of the site built and slip the actual images in to the layout as and when I receive them.

More Practical WordPress Tips, Insights, Advice and Warnings
🌪️ Dodge WordPress Website Disasters: Use a Localhost for Development
🙃 GoDaddy Loves Spamming Branded Footer Links to WordPress Installatron Sites
🤯 Can We Really Trust WordPress Plugins? Back Up Your Site Manually NOW
😒 This WordPress Media Uploader Problem Makes Your Blog Look Amateur
Add Your Thoughts