If you haven’t heard of Photoshop you’ve been living under a rock! Even non-designers have some concept of what it does even if they don’t use it.
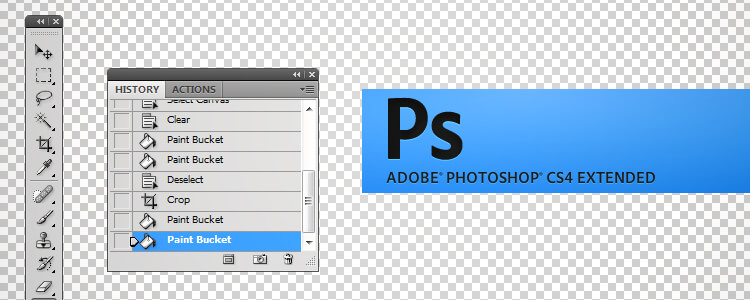
This powerful graphics software is a bitmap based editor supporting masks, layering, colour modes, compositing and vector paths. The brushes, shapes and other features are used almost daily in my work.
2015 Update: Get Photoshop CS2 Free
Adobe appear to have released the Creative Suite 2 version of Photoshop free. It was originally released in 2005 and has many of the same tools/features as the latest versions.
Download Photoshop CS2 software (free)
Download Photoshop CS2 Update (free)
Supported File Formats
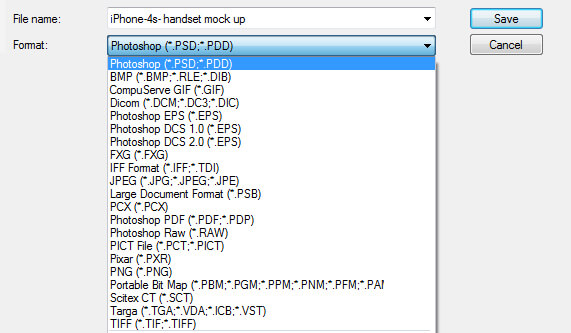
Lots of file formats are supported. Some of these I do not use much but it is good having those options for certain situations.
The most common formats I save to are .JPEG .PNG and .GIF.
Obviously, the native format for Photoshop is .PSD but you can always save in .TIFF format to preserve layers. This is useful if you’re forwarding the file on to someone using a different editor.
Adobe .PDF is supported too – a lot of commercial printers will request this when you supply artwork. I always send a flattened .PDF to avoid any printing issues.
Tool Bar
Photoshop is really an image editor, not so much a graphic design program. Though you can good results from it, original drawings are best produced as vector paths using Illustrator.

The type tool is always handy for web images, but for print typesetting I suggest InDesign instead.
Photoshop gets used most for producing social media images or optimising photos. It’s also used in the creation of screenshots for this site – those screenshots get resized/altered slightly, maybe with a drop shadow or lighting effect.
One of my favourite tricks is to use my web browser element inspector to produce custom website screenshots and then edit those in Photoshop.
As long as you realise you should approach graphics software with finesse, you’ll achieve nice images.
Some of the graphics produced in PS often look heavy handed – clumsy even – because of overused filters.
It helps to have an idea of what you want to achieve BEFORE you start using design software.
If you want to learn about all the individual tools included, there’s plenty of great resources online. I couldn’t possibly go into depth here.
YouTube is a fantastic learning resource for free PS video tutorials.
Layers & Transparency
For me, layers and transparency are the best feature of Photoshop. I like being able to overlay different images with ease.
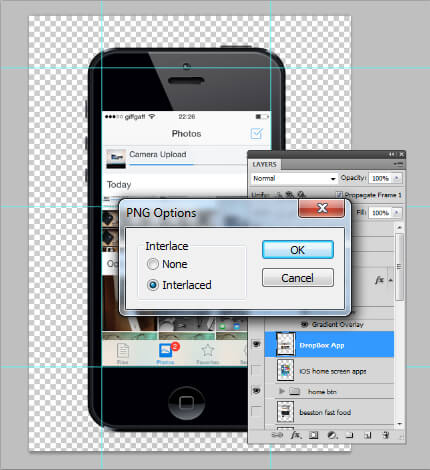
I love being able to save as .PNG format knowing it can be dropped into another design layout and sit on top of a coloured background.
You can’t do this with a .JPEG because everything gets flattened.
Of course, you can cut the image out but the outline is sometimes rough and pixelated. It is better to work with transparent layers in the first place and save as a transparent .PNG to avoid trouble.
In the image below you can see the grey and white squares of the canvas. This means it is transparent.
When I’m working on a website, I’ll often use the transparent format for the logo or important images on the page.
If you change the background colour of a website HTML container using CSS, the .PNG with the transparent background will sit on top of all that and look nice.
Somebody made an excellent 10 minute video about how to cut out anything in Photoshop. It’s a nice overview of some of the hidden tools tucked away in Photoshop.
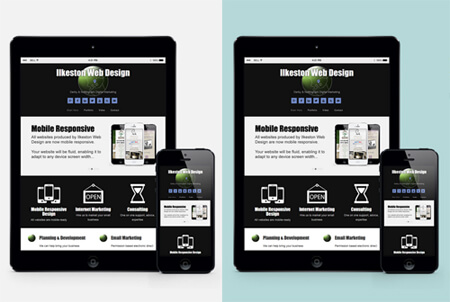
The .PNG supports transparency. Great for changing background colours.
Workflow
Another advantage to Photoshop is the workflow. It’s everyman software. The diplomat between most designers.
Using industry standard tools puts you on the same page as other people if you want to collaborate. There’s loads of free .PSD artwork templates available online to download, for example.
Some designers like to work with Gimp (free) and Paint.net (also free) but there is an increased chance of things going wrong when trying to open up different formats.
Plugins, effects and file formats might not get on as well so sticking to the Adobe Suite as a proprietary environment has helped.
- As an aside, although third party applications probably can handle the .PSD format, I’m willing to bet the artwork will look a bit different.
Here’s a great article disclosing 60 Photoshop shortcuts to speed up workflow. Using keyboard shortcuts instead of relying on the mouse cursor to access different tools will shave a lot of time off projects.
Adobe Creative Suite Compatibility
I always appreciated the seamless compatibility with other Adobe graphics products.
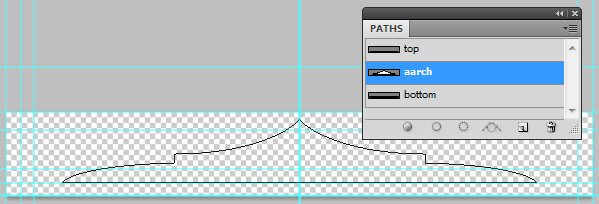
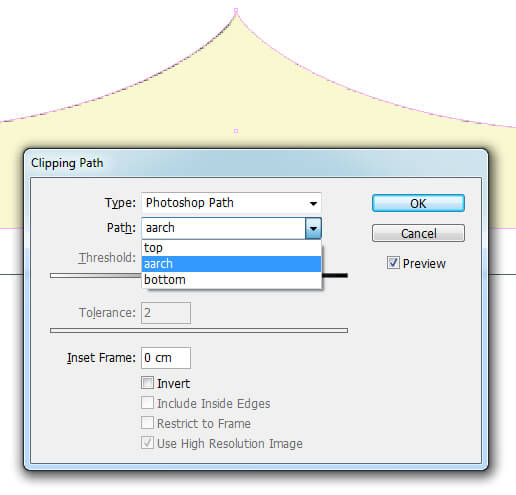
A few years ago a web design background image was put together in Photoshop using the native paths functionality. But after realising I needed to work up that design into a full sized printed leaflet, I was luckily able to export those paths into InDesign.
After exported I finished up with a nice .SVG to work with inside InDesign. The exact same shape was passed effortlessly from one program to the other.
Photoshop is able to import paths too.
Illustrator .AI files can be exported from Illustrator to a lower resolution file, opened in Photoshop, changed to RGB, resampled and optimised for the web.
We send the files back and forth using DropBox.
Adobe Bridge & Photoshop Layers
If you’re using Photoshop to manage a lot of images, you should consider employing Adobe Bridge. It comes with the Adobe Suite.
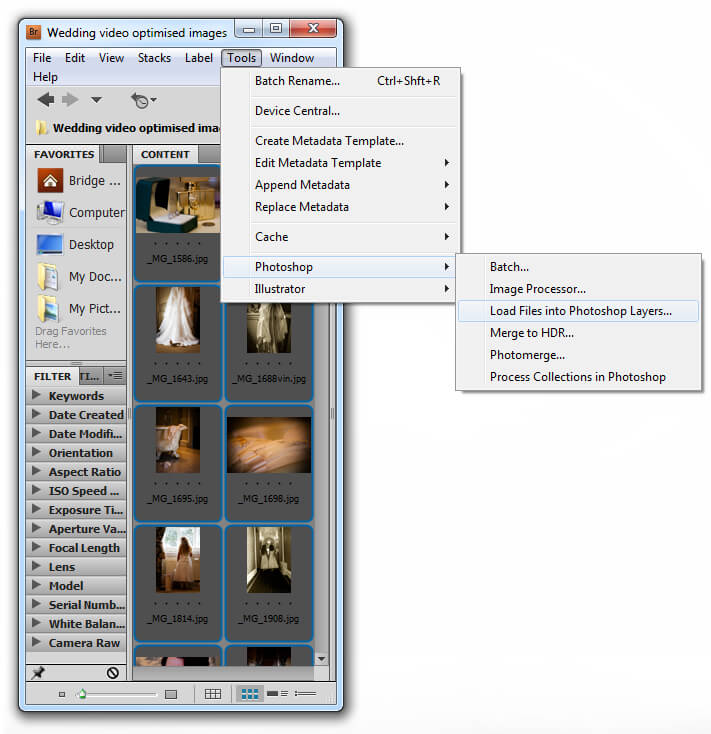
It allows you to open multiple images inside a single document, each on a different layer.
Without Bridge you have to open all the images one by one in Photoshop, then either copy/paste each image into a single document or use the duplicate layer functionality to send the layer to another open document.
How do you do this? In Bridge, navigate to the folder containing your images, select the images you want then choose Tools > Photoshop > Load Files into Photoshop Layers.
At this point, Photoshop will begin automatically pulling in these images onto single layers within the .PSD document.
If you have lots of large, high quality images, this can take a while, sometimes more than 10 minutes.
Go and make yourself sandwich while you wait. When you come back, all those images will be inside a single Photoshop document occupying separate layers.
Too Much to Mention
We could talk all day about the animation timeline, character palette, filters, typesetting, masks, swatches, shapes, actions and everything else contained in the program.
If you’re already using Photoshop… good for you!
If you’re a beginner, realise it is just a tool. Do not think that a bag of tricks automatically equals great designs. It doesn’t.
You might like to check out this excellent article by CreativeBloq called 30 Photoshop secrets to improve in your skills.
Summary: Couldn’t Live Without It
Since the early ’90’s most design students have used or will use Photoshop. The desktop revolution put an end to graphic design in the classical sense and ushered in the age of lowest common denominator layout.
Accessibility to software is great, but unfortunately, the poorer designers see the low barrier of entry to Photoshop as the be all and end all for their projects.
In other words, it makes people lazy.
Use your critical faculties, communication skills and judgement instead of relying on autoshapes, drop shadow and Gaussian blur.
If you want to create proper, cleaner, reusable professional vector drawings, take a look at Adobe Illustrator.
For typesetting, publications and layouts, consider Adobe InDesign.


Add Your Thoughts