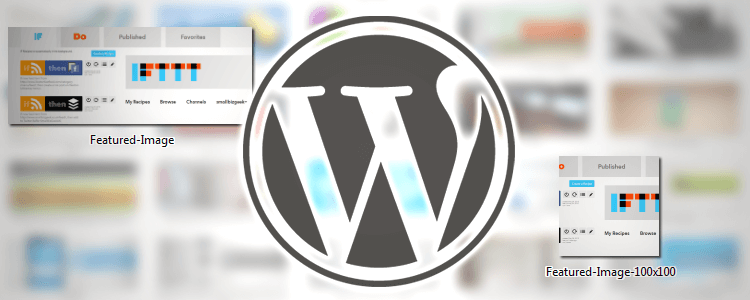
An often overlooked issue undermining many WordPress websites is that the media uploader automatically creates and then crops multiple thumbnails based on uploaded images.
The media uploader isn’t intelligent and doesn’t know how to crop images. The default centred cropping position generates a difficult to understand image because the visual information is obscured.
For example, if you add a featured image to a post, several smaller versions are created at different dimensions depending on your theme settings.
Assuming you have a blog (and therefore a blog feed archive) these smaller, roughly-cut thumbnails will be served automatically as preview images for website post summaries and search archives.
This is where the trouble starts.
Because WordPress is logical – not intelligent – it doesn’t know how your images ought to be cropped, so it just crops them towards the centre point of the image as a default.
Your thumbnail images may be butchered and look bad. If you have aggressive Cloudflare caching or some WordPress plugin that caches images, it’s not always easy to get WordPress to show the right thumbnails even after you tweak them.
How the WordPress Media Uploader Behaves
The thumbnail sizes are usually controlled in Settings > Media in the WordPress dashboard, but if you’re using a framework like Genesis it’s possible there are additional functions that either override the native settings or add extra thumbnail sizes.
This website is a customised version the Magazine Pro theme running on Genesis and five thumbnail sizes are created whenever I upload ANY image via the media uploader.
It almost certainly varies from theme to theme.
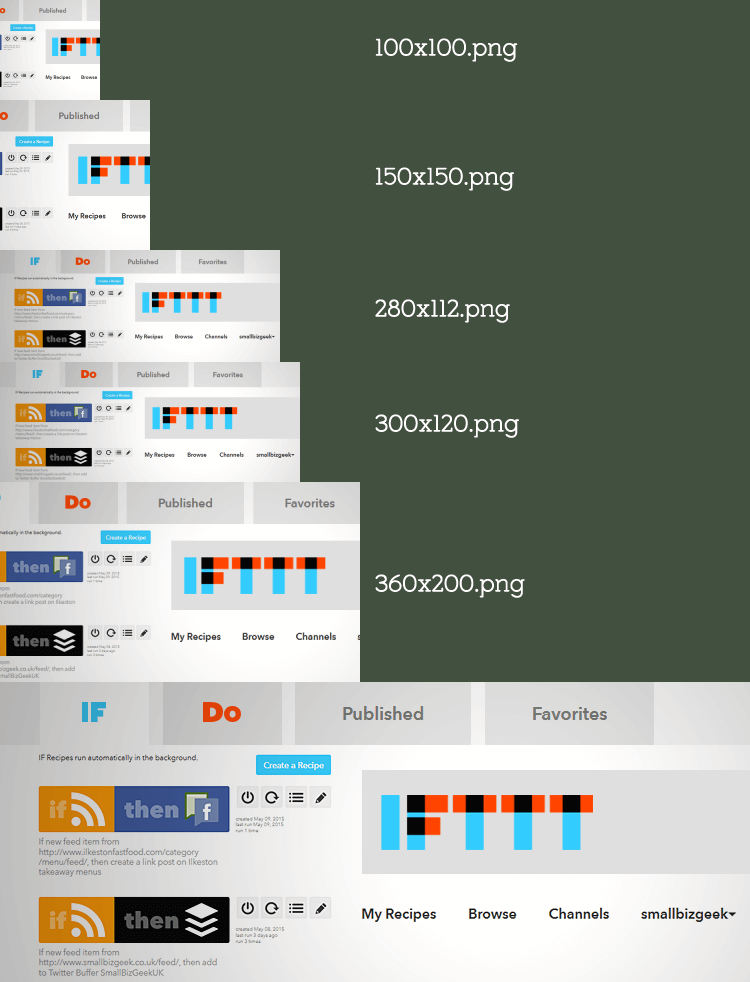
So, if I were to upload a featured image to a post or page called Featured Image.png, WordPress will create the extra thumbnails while automatically renaming and hyphenating each file with the new dimensions:
- Featured-Image-100X100.png
- Featured-Image-150X150.png
- Featured-Image-280X112.png
- Featured-Image-300X120.png
- Featured-Image-360X200.png
- Featured-Image.png
Notice how roughly cut some of the images are. They’re not all bad but the 100×100 and 150×150 images are the ones that are used by my site in the archives.
How to Fix Badly Cropped Thumbnail Images
The only way to deal with the cropping issues is to recompose the thumbnails manually.
It may seem like a lot of work but it’s worth nipping it in the bud. You’ll get into the groove of doing it and your blog archives will look waaay better.
Here’s what you’ll be doing on a regular basis:
- Upload your featured image, allowing the thumbnails to be created
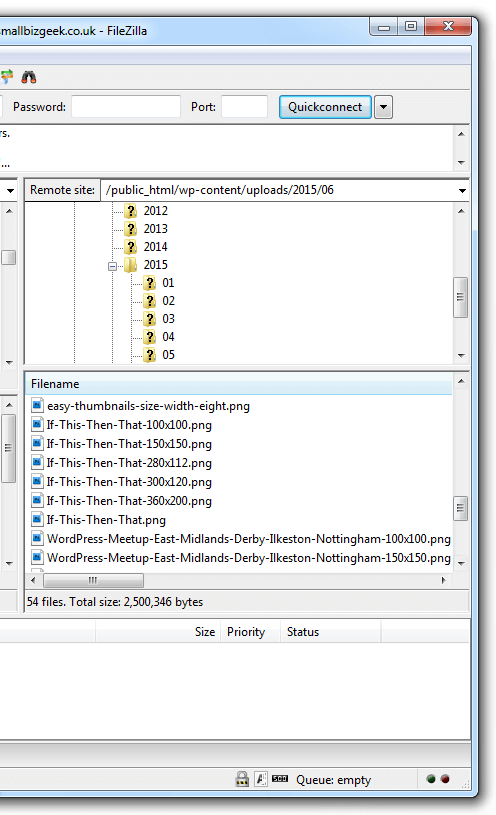
- Download the images from your website server using an FTP tool such as FileZilla
- Manually correct the images using something like Photoshop or Paint.Net on your computer
- Upload and replace the images on your web server
- Refresh your browser and empty the cache of any reverse proxy (like Cloudflare)
1. Add Featured Image
Upload your featured images as normal. I create mine according to whatever the recommend size for featured images is.
It varies from theme to theme, but for this website, it is 750 X 300 px.
You do not even need to insert the image into a page or post. As long as it has been added to the WordPress library, the thumbnails will have been created.
2. Download Images from Web Server
You’ll need to navigate to the folder where images are saved to by default in WordPress. You cannot really do this with tablet devices. A desktop PC is advised for this kind of thing.
Unless you’ve customised your WordPress directory structure, it will use the default uploads folder located inside the wp-content folder.
Use your credentials to access your server. Open the folder wp-content and you’ll see it contains sub folders arranged according to year and month.
You need to access the the folder of the year and month that corresponds to whenever the post was created.
Typically, the folder path you want looks like this:
www.yourwebsite.com/wp-content/uploads/2015/06
Once you’re in the correct folder, highlight/select the images you want and drag them to a folder on your machine. I just copy them to the the desktop.
3. Manually Correct Images
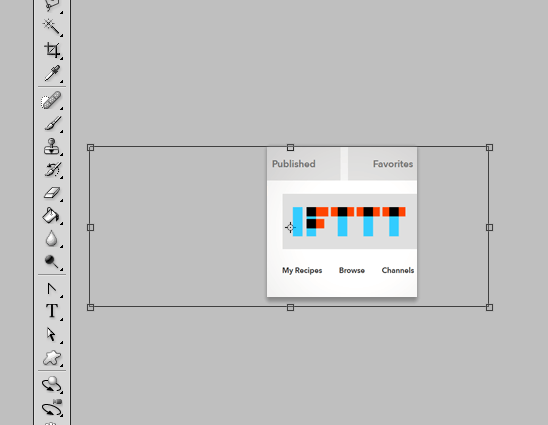
What you need to do now is select and copy the largest version of your featured image to the clipboard and resizing it for the other thumbnails.
This is much simpler than you think.
You’ll only be copying and pasting the largest version of your featured image into and over the smaller thumbnails, resizing them, adjusting the composition and then “flattening” the entire image.
You then just save the image and it will overwrite itself if you flattened it. Do this for all the thumbnails that have been badly cropped.
Remember, it’s about recomposing the images in the best possible way so that they communicate properly.
You want to present the visual information within the constraints of the thumbnail aspect ratio.
4. Copy Back to Server
When you’re done editing, copy all the images back into the uploads folder via FTP. You’ll be asked if you want to overwrite. Say yes, and you’re done.
Changes on your site might not show initially, especially if you’re going back to older posts and editing thumbnails.
Browser caching may be responsible so empty your history. In other cases, CDN tools like CloudFlare can be quite aggressive, meaning you’ll need to purge the cache to see the changes.
Video Demonstration
Watch the video below for a run through of how I optimise my thumbnails. It’s a big long so watch it on 2x speed and you’ll get the idea:
Social Media Plugins Rely on Thumbnails
Some WordPress plugins, like JM Twitter Cards, rely on different sized thumbnails depending on what type of card you use with your post.
If you select the “small image with summary” card setting, it will most likely go for the 100×100 image.
Be glad you’re future proofing your open graph images by optimising the thumbs for social media too. You always want your visual value proposition to be well framed.
Warning
Beware of plugins like Ajax thumbnail rebuild. This is often touted as solutions to thumbnail problems but all it really does is reset your thumbnails to a default crop, thus eliminating all your careful customisations.
I’m sure the plugin has its uses but keep in mind any thumbnails you’ve manually recropped/recomposed will be reset.


Add Your Thoughts