What format do you save your images to when designing for print or the web? Would you like to save time and enjoy better workflow?
It might never have crossed your mind before so I’ll assume you’re using the JPG format and have been happily doing so for years.
In this post I want to present a few reasons for switching to the PNG format exclusively. If you’re already doing this, feel free to grunt and nod with approval.
But first – and mainly for the benefit of any digital graphics newbies – let me introduce JPG and PNG.
JPG (Or JPEG) Images
JPG (also JPEG) is the well known file extension acronym for Joint Photographic Experts Group. It is a bitmap file supporting varying degrees of compression quality and is a standard format for digital imaging.
If you have a digital camera, it’ll use JPG, which is fine. I do use JPG for most screenshots in blog posts, but if I’m doing anything with fancy website layouts in headers or a hero section, PNG is the format for me.
While JPG has its uses, there are limitations that can disrupt workflow and generally slow down computer generated design activities.
PNG Images
PNG stands for Portable Network Graphics and is another bitmap based image format. This format has been hanging around since 1994 and has undergone several revisions.
The PNG format was invented to replace GIF but has mostly superseded the JPG too.
It is superior (and more flexible) compared to a JPG if you’re producing graphic design. It offers a way to “future proof” your projects and take shortcuts without compromising image quality.
Here are 2 advantages…
1. Full/Variable Transparency Increases Workflow
The PNG file format supports full alpha transparency, allowing you to create graphics with varying levels of transparency. Basically you turn off any kind of background, revealing the chequered canvas background in your graphic design software.
Why is this a design shortcut?
Well, you might want to repurpose your images into other design layouts. Transparent backgrounds make this easier.
You want to quickly drop images into different graphic layouts without having to use a lasso tool to cut away flat backgrounds (like you would with JPG).
PNG images also work great on website pages because you can change the background colour of the CSS containers and the transparent image sits on top undisturbed. Again, you cannot do that with a JPG because of the opaque background.
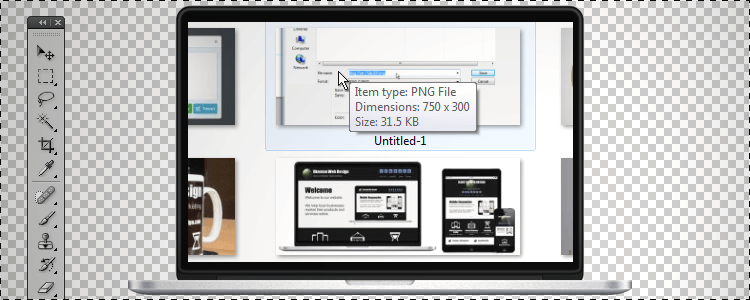
Note: a saved PNG background appears a light greyish colour in the Windows image viewer/preview mode. Once loaded into graphics software it will show its chequered background.
Search engine image results involving PNGs do not always reveal if they’re transparent. If you’re pulling images from the web you’re advised to download the image using a right click and Save As.
Dragging the image from the browser directly to PC desktop or explorer window automatically destroys transparency. Don’t ask me why this is, it just is this way.
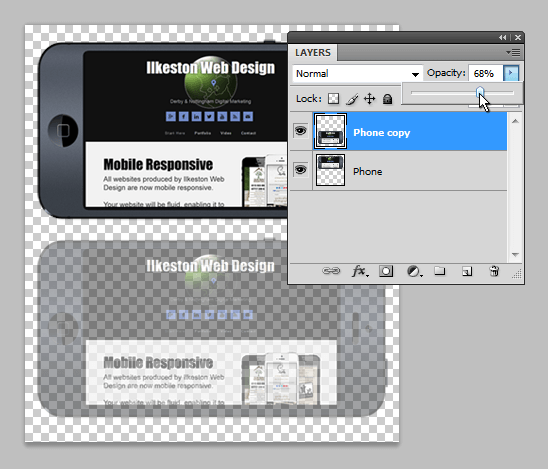
The Opacity slider changes the degree of transparency on a Photoshop layer
The PNG comes in three types – PNG-8, PNG-24 and PNG-32 – Alpha transparency is supported by the latter 32 file type.
Adobe Photoshop offers this alpha transparency tool on the layers palette and Paint.Net offers some transparency.
It’s best to render your images by using File > Save As instead of Save for Web & Devices.
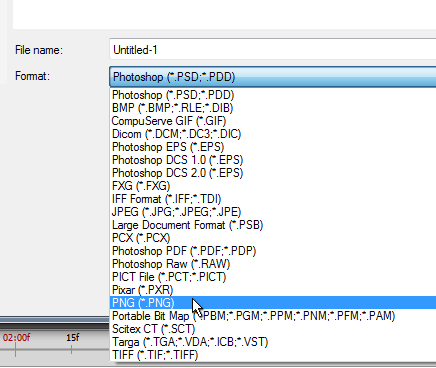
I always choose File > Save As and then select PNG
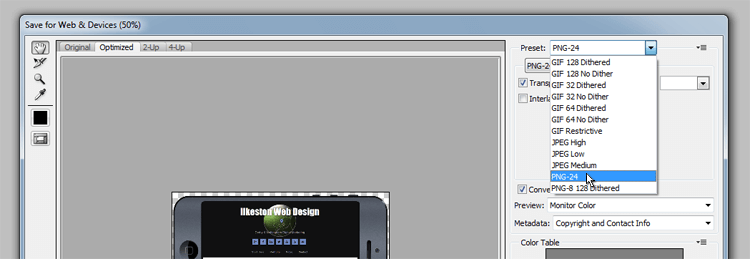
Choosing Save for Web & Devices allows you to choose from PNG-8, PNG-24 only, but if you tick the “transparency” checkbox, this gives the equivalent of PNG-32.
If you have logos or graphics created by a graphic designer, it’s best get them supplied with transparency.
Ideally, you’d get graphic design files supplied in Adobe Illustrator vector format and then save for the web as bitmap PNG.
To summarise, saving images as transparent PNG keeps your future options open and enables you to easily combine different images in layouts using the stacking order of layers in the design software. You can compress PNG images to save file space and increase page load speed using a free tool such as TinyPNG.
2. Progressive Rendering is Visually More Appealing
PNG’s also support progressive rendering within browsers. Basically, the image begins blurry and becomes sharper as it loads the additional data.
This is in contrast to a standard JPG, which loads “baseline” style, presenting horizontal sections of the image, line by line, in a downward linear fashion.
While you can save JPG in a progressive mode (Save for Web & Devices option) the file size doesn’t support transparency.
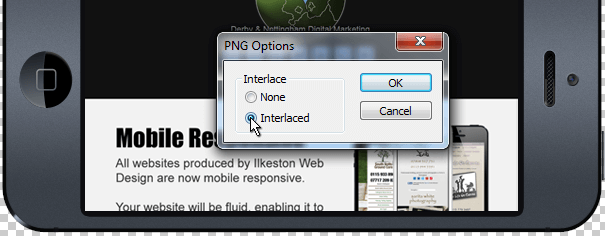
Saving a PNG as a progressive loading file is simple. You just select “Interlaced” when saving the file in the standard manner of File > Save As.
The video below demonstrates how an interlaced PNG loads:

Add Your Thoughts